安装sonarQub服务器
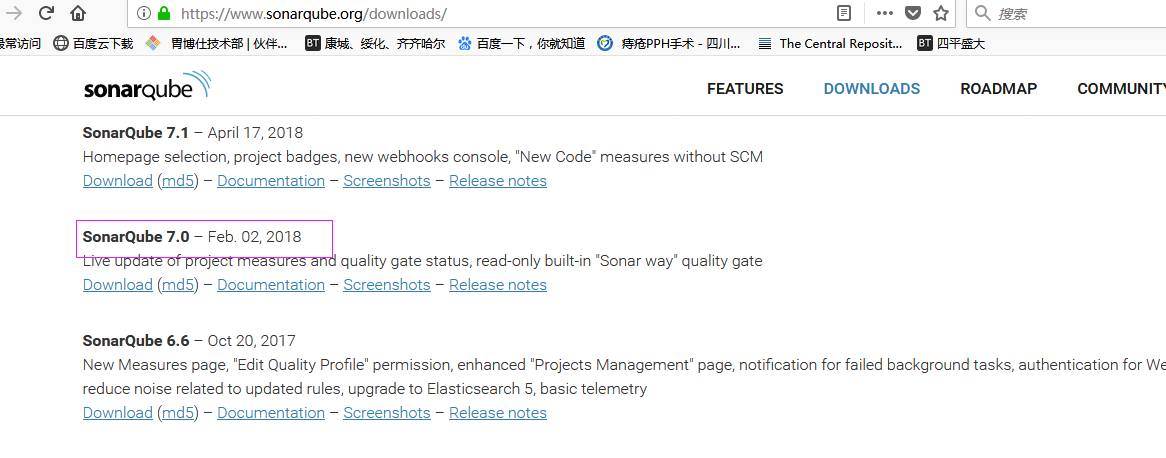
sonarQube 服务器下载地址 https://www.sonarqube.org/downloads/
下载7.0版本
文档地址 https://docs.sonarqube.org/display/SONARQUBE70/Architecture+and+Integration
将压缩包解压到指定文件夹即可
安装中文插件
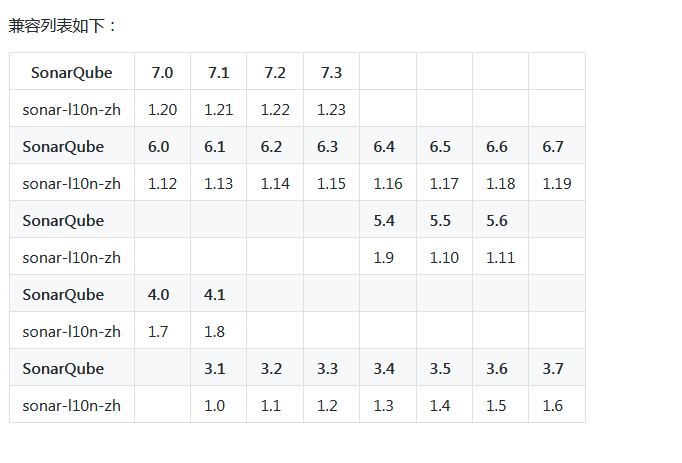
中文包下载地址
根据下载的SonarQube的版本选择中文包下载
将sonar-l10n-zh-plugin-1.20.jar放在sonarqube-7.0\extensions\plugins目录下
sonarQub数据库配置
mysql版本需要5.6以上,由于我的是5.05,故装一个5.64版本的,端口设置为3307
新建数据库sonarqube
编辑配置文件
sonarqube-7.0\conf\sonar.properties
添加
sonar.jdbc.url=jdbc:mysql://127.0.0.1:3307/sonarqube?useUnicode=true&characterEncoding=utf8&rewriteBatchedStatements=true&useConfigs=maxPerformance
sonar.jdbc.username=root
sonar.jdbc.password=123456
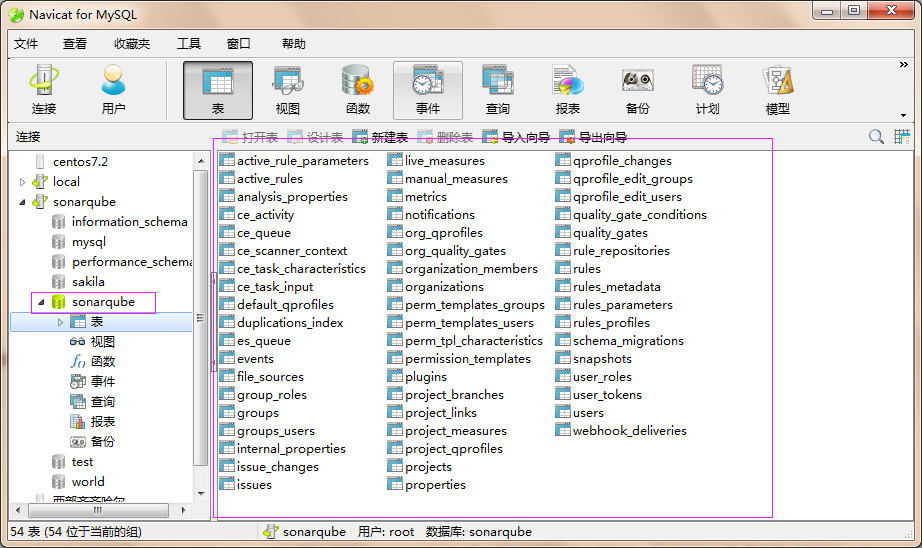
运行sonarQube后数据库内容如下
运行sonarQub服务器
运行D:\mysoftwarestudy\java\sonarqube-7.0\bin\windows-x86-64\StartSonar.bat
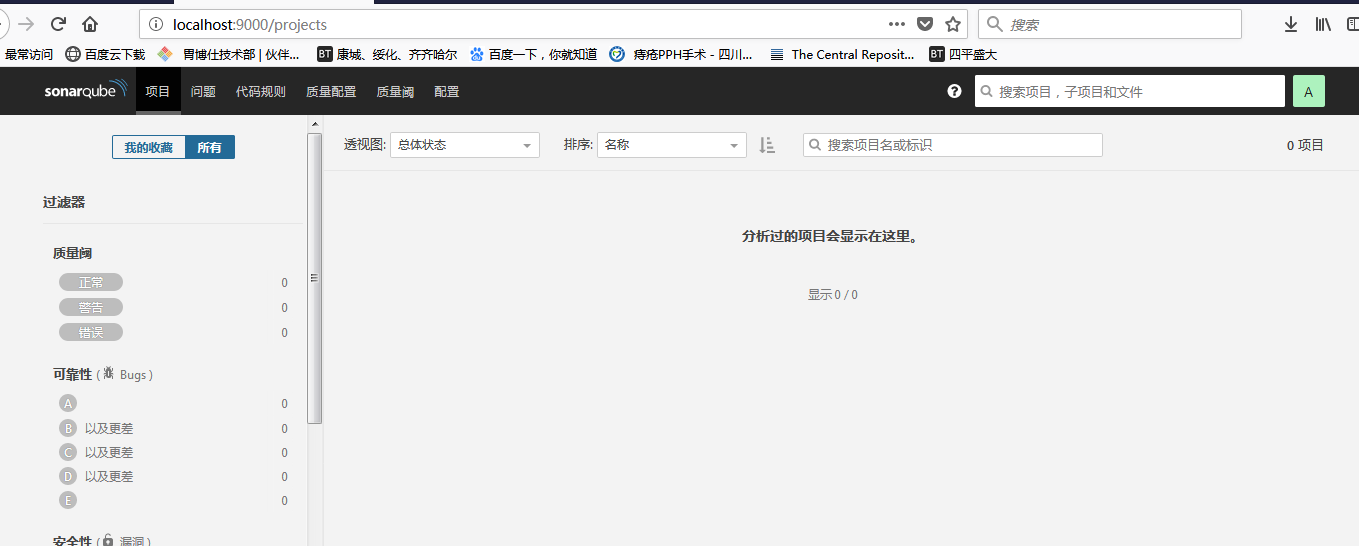
打开localhost:9000
登陆 用户名密码都是admin,admin
生成令牌,输入sonarqube
sonarqube: a7f96bbc92fbc23c1524d15e969ac25ad03b3b41
选择语言java,构建工具marven
提示,marven使用sonarqube只需运行以下命令即可
mvn sonar:sonar \
-Dsonar.host.url=http://localhost:9000 \
-Dsonar.login=a7f96bbc92fbc23c1524d15e969ac25ad03b3b41
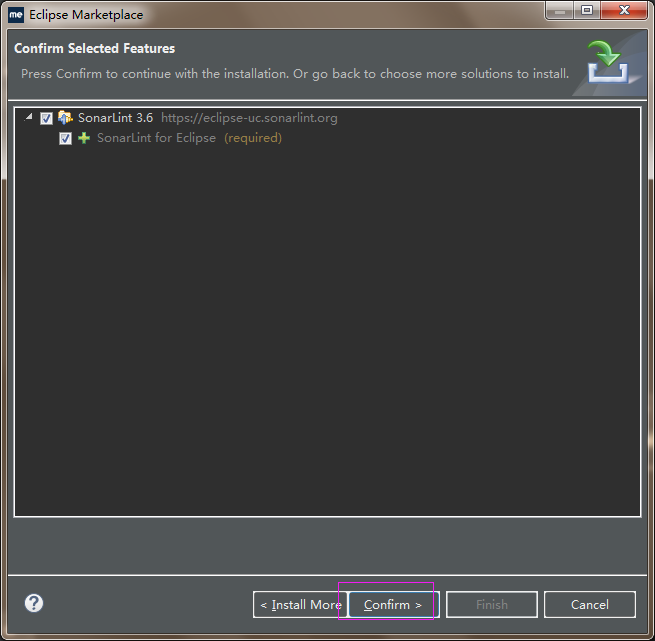
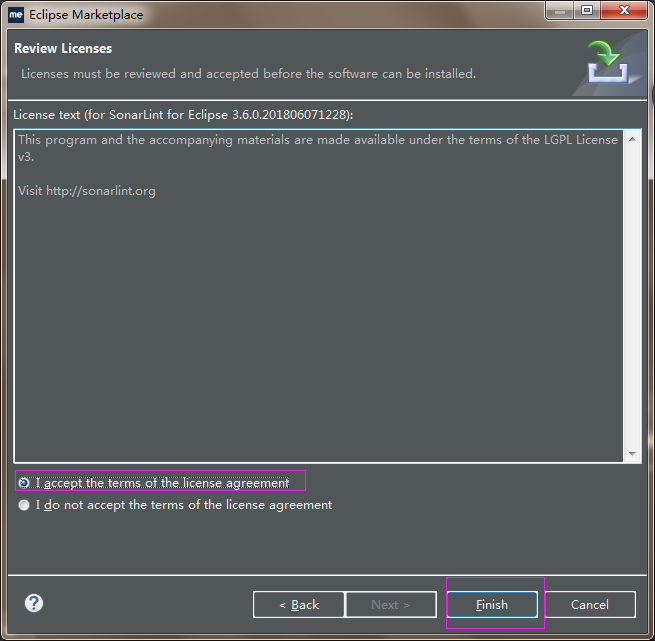
myeclipse中SoaraLint插件安装
myeclispe插件sonarqube只有3.4版本,sonarqube2015年已经不更新eclipse插件了,所以使用SoarLint插件
安装方法1:
soarlint插件地址 http://marketplace.eclipse.org/content/sonarlint
拖动install连接到打开的 myeclipse或者eclipse中
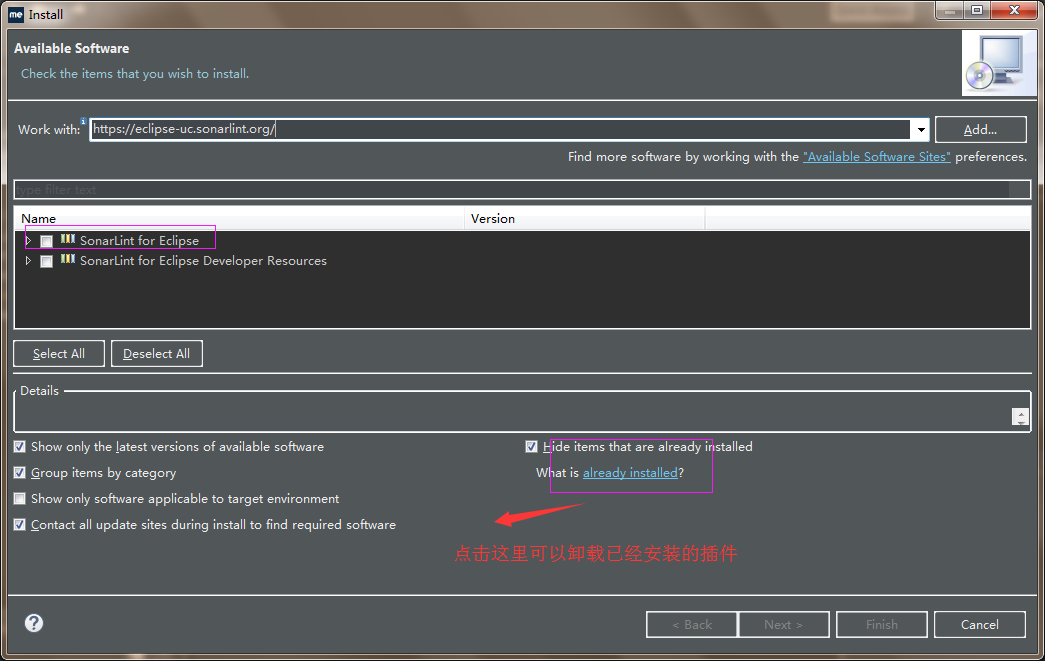
安装方法2:
help->install from site,输入以下地址
https://eclipse-uc.sonarlint.org/
参考
https://www.cnblogs.com/lzb1096101803/p/4945844.html
https://blog.csdn.net/songer_xing/article/details/76691148
https://blog.csdn.net/l1028386804/article/details/71057240
https://blog.csdn.net/gb4215287/article/details/76066266
https://blog.csdn.net/zj420964597/article/details/79355885
https://blog.csdn.net/u011225629/article/details/52414297